
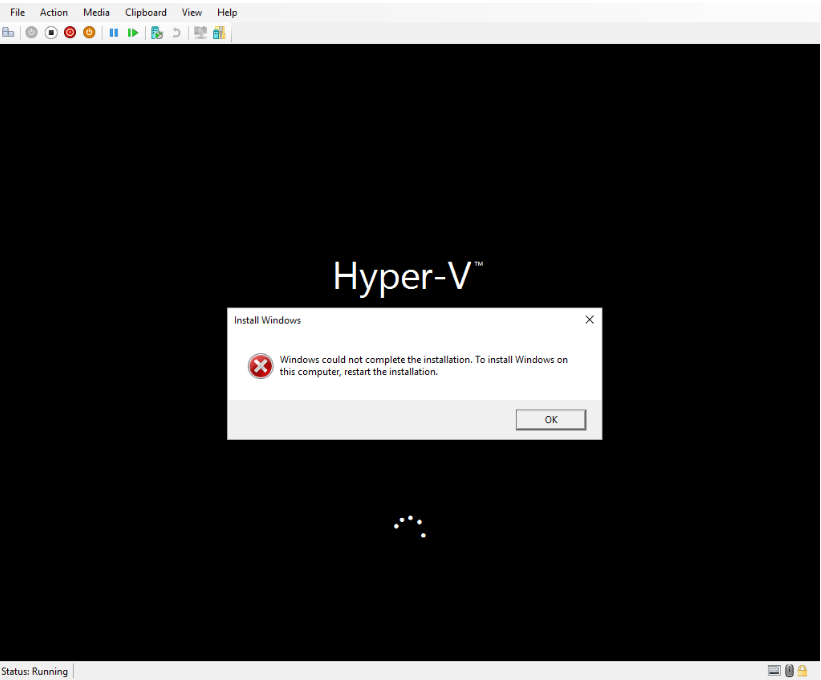
Installing Windows in Hyper-V is simple. However, sometimes the setup suddenly stops and shows the message: “Windows could not complete the installation in Hyper-V.” Fortunately, several simple ways can help you complete the Windows installation successfully.
Why Does “Windows could not complete the installation in Hyper-V” Error Appear?
- The Windows ISO file is corrupt or incomplete.
- The ISO file is moved, renamed, or deleted during installation.
- The virtual machine does not have enough RAM or system resources.
- The installation process was interrupted or forcefully stopped.
- The Hyper-V virtual machine configuration is damaged or incorrect.
Windows Could Not Complete The Installation In Hyper-V
Below are the methods to fix it:
Fix 1: Avoid Turning Off the Virtual Machine During Setup
Hyper-V may take some time to transition between installation screens. During this period, it might appear frozen even when it is still working in the background.
- Wait patiently during the installation.
- Do not click Turn Off or Shut Down.
- Let the setup process to complete itself.
Fix 2: Ensure ISO File Availability
The Windows ISO file must remain in the same location while the installation is being performed.
- Check the folder where the ISO is stored.
- Make sure the file is not moved, renamed, or deleted.
- Restart the installation after confirming the ISO is accessible.
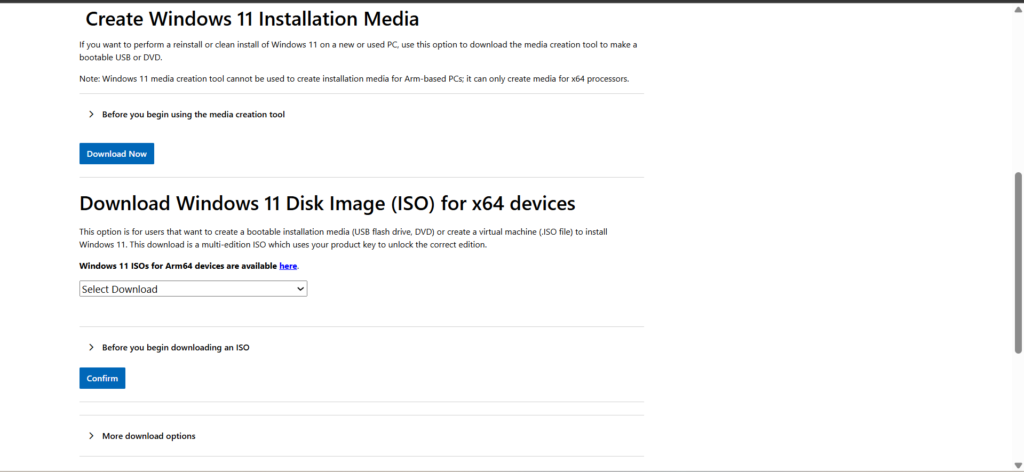
Fix 3: Download A Fresh Windows ISO
A damaged or incomplete ISO file can prevent Windows from installing correctly.
- Download a new Windows ISO from Microsoft (https://www.microsoft.com/en-us/software-download/windows11).
- Open Hyper-V Manager.
- Right-click the virtual machine and select Settings.
- Go to SCSI Controller > DVD Drive.
- Click Browse and select the new ISO file.
- Save the changes and restart the installation.
Fix 4: Reduce The Assigned Memory
Allocating too much RAM to the virtual machine can sometimes cause installation problems, especially on systems with limited memory.
- Open Hyper-V Manager.
- Right-click the Virtual machine and choose Settings.
- Select Memory.
- Enter a lower memory value.
- Click OK and restart the setup.
Fix 5: Create A New Virtual Machine
If the error continues, the virtual machine configuration may be damaged.
- Delete the problematic virtual machine.
- Create a new virtual machine in Hyper-V.
- Attach the Windows ISO.
- Start a fresh installation.
So, that’s how you can fix the “Windows could not complete the installation” error in Hyper-V.
If you have more questions, comment below!
Leave a Reply