

You sit down to use your PC. Everything is working fine. Then Windows starts downloading an update. Your internet suddenly feels slower. Later, a restart notification appears. Sometimes it happens right before a meeting, a game, or an important task. Not everyone wants updates installed automatically. Many users prefer to update Windows when it suits them. If you’re one of them, there are a few simple ways to disable automatic updates in Windows 11.
Disable Automatic Updates On Windows 11
Solution 1: Pause Updates From Settings
Don’t want updates now? Windows lets you pause them temporarily.
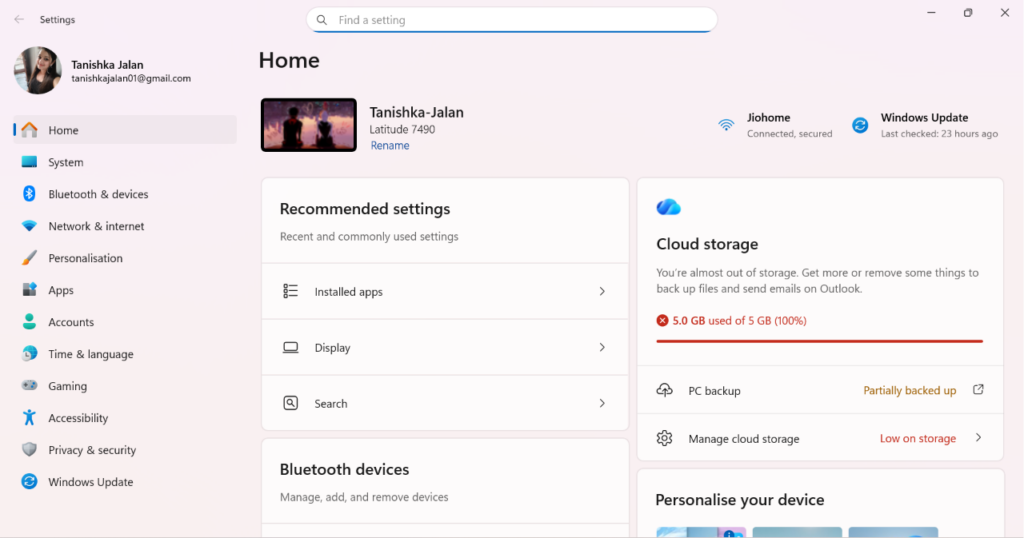
- Open Settings.
- Click Windows Update.
- Find Pause updates.
- Choose how long you want to pause updates.
- Close Settings.
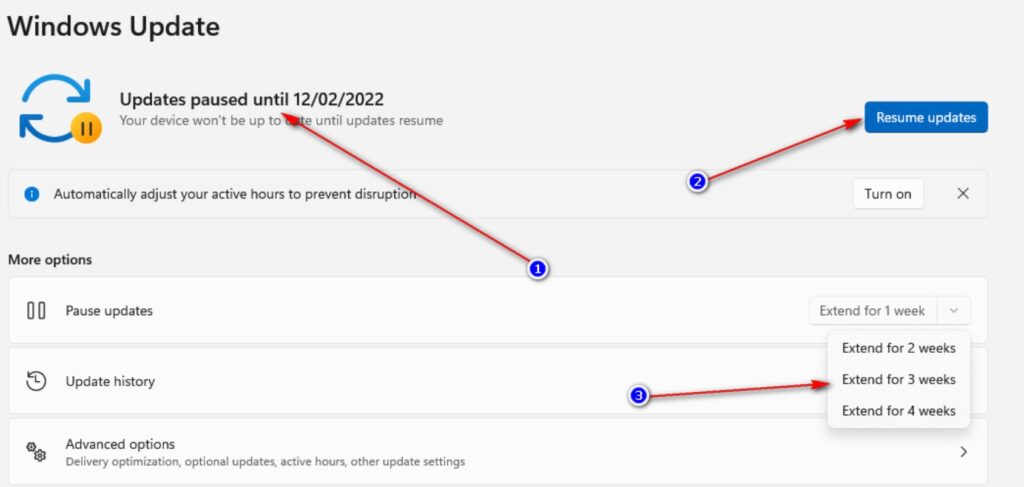
Updates will stop until the pause period ends.
Solution 2: Extend the Update Pause
Still don’t want updates? You can extend the pause again.
- Open Settings > Windows Update.
- Click Pick a date under Pause updates.
- Select a new date.
- Repeat before the current pause expires.
This helps keep updates away for longer.
Solution 3: Turn Off Early Feature Updates
Windows often pushes new features quickly. You can disable that option.
- Open Settings.
2. Go to Windows Update.
3. Turn off Get the latest updates as soon as they’re available option.
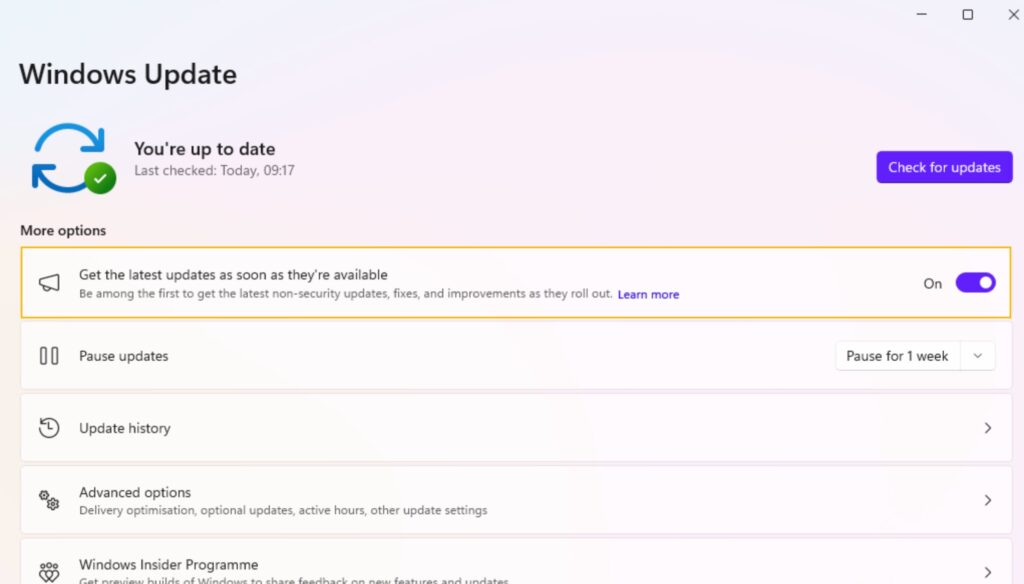
Windows will be less aggressive with new updates.
Solution 4: Disable Updates Using Group Policy (Pro Users)
Want Windows to stop downloading updates automatically? Use Group Policy.
- Press Windows + R, type gpedit.msc, and press Enter.
2. Navigate to:
Computer Configuration > Administrative Templates > Windows Components > Windows Update > Manage end user experience
3. Open Configure Automatic Updates.
4. Select Disabled.
5. Click Apply and OK.
6. Restart the PC.
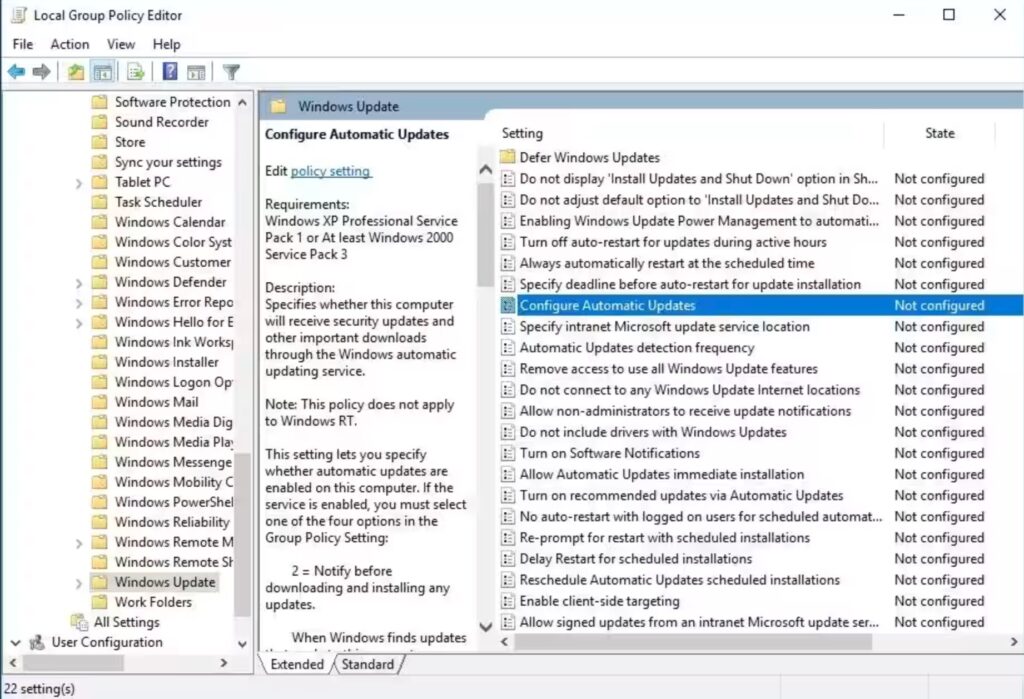
Automatic downloads will stop.
Solution 5: Disable Updates Through Registry Editor
This works on Windows 11 Home and Pro.
- Open Registry Editor.
- Go to:
HKEY_LOCAL_MACHINE\SOFTWARE\Policies\Microsoft\Windows
3. Create a key named WindowsUpdate.
4. Create another key named AU inside it.
5. Create a DWORD (32-bit) Value called NoAutoUpdate.
6. Set its value to 1.
7. Restart the computer.
Windows will stop downloading updates automatically.
Solution 6: Block a Specific Update
Only one update causing trouble? Hide it.
- Download Microsoft’s Show or Hide Updates Troubleshooter.
- Open the tool.
- Select Hide updates.
- Choose the update you want to block.
- Finish the process.
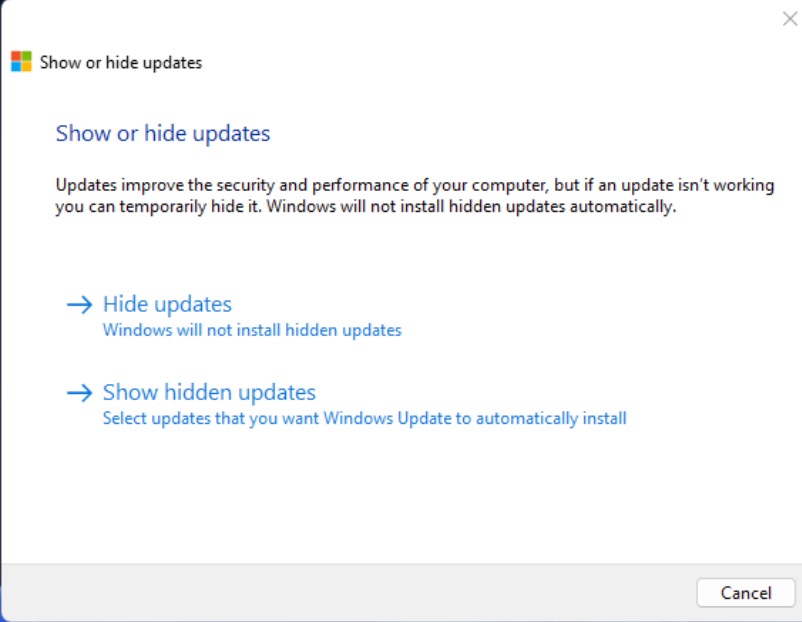
That update will no longer install automatically.
Solution 7: Install Updates Manually When Needed
Don’t want automatic updates but still want security fixes? Check for updates yourself.
- Open Settings.
- Click Windows Update.
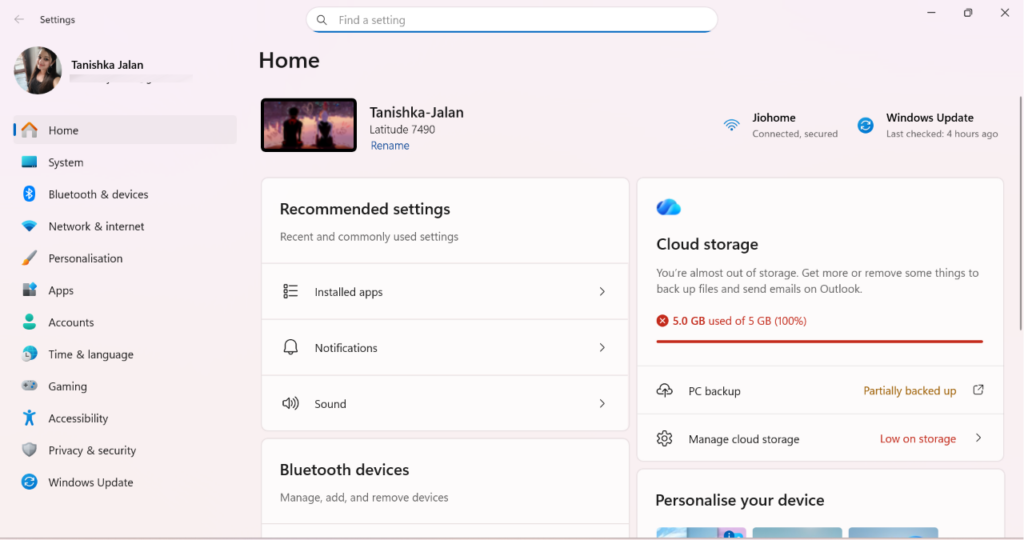
3. Select Check for updates whenever you are ready.
This gives you complete control over when updates are installed.
That’s it! If you have any questions, comment below!

Leave a Reply