
Windows Firewall is a security feature that helps to protect your device by filtering network traffic that enters and exits your device. This traffic can be filtered based on several criteria, including source and destination IP address, IP protocol, or source and destination port number. Windows Firewall can be configured to block or allow network traffic based on the services and applications that are installed on your device. This allows you to restrict network traffic to only those applications and services that are explicitly allowed to communicate on the network.
According to Microsoft, Windows Firewall watches all the network traffic (data going in and out) and decides what is safe and what should be blocked. It can block or allow traffic based on things like the program you are using, the port number, or the IP address. This means only the apps and services you trust can talk to the network. It can also use a system called IPsec to check if another device is trusted. If the device isn’t trusted, it can’t connect. IPsec can also make sure some traffic is encrypted (locked), so hackers can’t read it.
Windows Firewall has three types of network profiles:
- Domain profile: used when your computer is part of a company network.
- Private profile: used for home or trusted networks.
- Public profile: used for places like airports or cafés, where the network is not trusted.
Disabling the Firewall isn’t recommend unless it is badly required. Because it may cause following issues:
- Start menu can stop working
- Modern applications can fail to install or update
- Activation of Windows via phone fails
- Application or OS incompatibilities that depend on Windows Firewall
If it is badly required, here’s how you can disable the Windows Defender Firewall.
Disable the Windows Defender Firewall on Windows Server
Method 1: Using Server Manager
To turn off Windows Firewall using Server Manager, follow these steps:
1. Log in to your Windows Server, open Server Manager.
2. Go to the Local Server tab and click Public: On under Windows Defender Firewall.
3. Choose Domain Network, switch off Windows Defender Firewall.
4. Now select Private Network, switch off Windows Defender Firewall.
5. Choose Public Network, switch off Windows Defender Firewall.
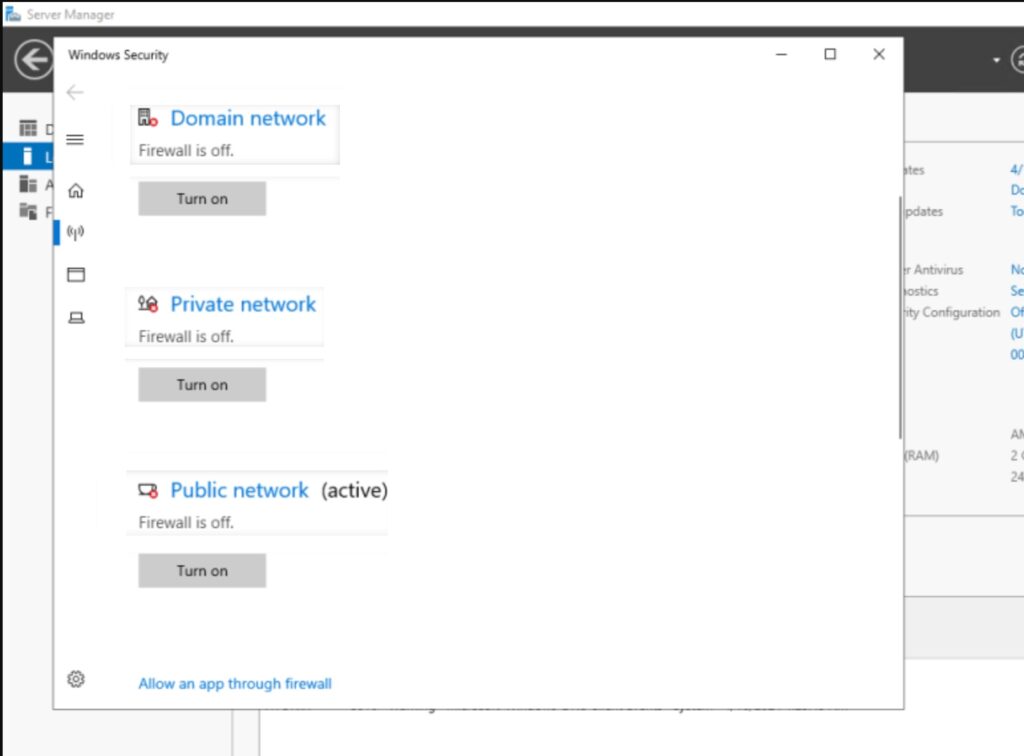
Windows Firewall is now disabled for Domain, Private, and Public networks. To turn on it again, simply restore the switch to On.
Method 2: Using PowerShell
1. Log in to your Windows Server and open Windows PowerShell.
2. Run the command:
Set-NetFirewallProfile -Profile Domain,Public,Private -Enabled falsePress Enter key and then Firewall will now be disabled.
If you again want to enable it, run the command instead:
Set-NetFirewallProfile -Profile Domain,Public,Private -Enabled truePress Enter key. The Firewall will now be enabled.
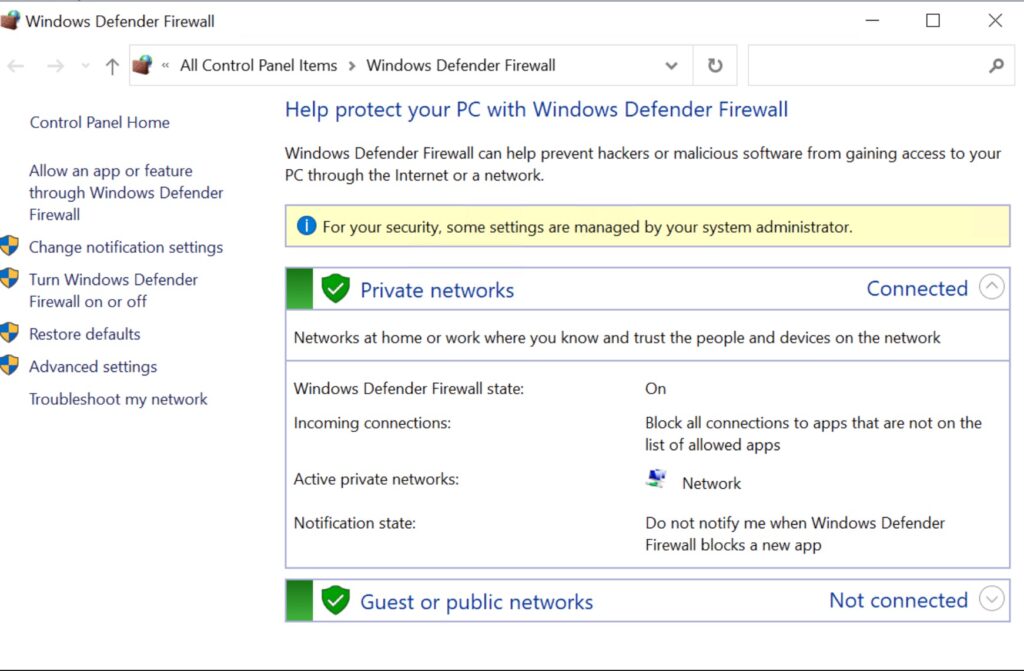
Method 3: Using Control Panel
Open Control Panel.
Go to All Control Panel items > Windows Defender Firewall.
Click on Turn Windows Firewall on or off.
In the next page, you can enable or disable the Windows Defender Firewall.
That’s it!