
Teams are made up of channels, which are the conversations you have with your teammates. Each channel is dedicated to a specific topic, department, or project. In this guide, you’ll see how to create a channel in Microsoft Teams. By default, all members of a team can create channels. A standard channel is open for all members and anything posted is searchable by others. If you need a smaller audience for a specific project, you can create a private channel for your team.

When you create a new team or private channel in Microsoft Teams, a team site in SharePoint gets automatically created. To edit the site description or classification for this team site, go to the corresponding channel’s settings in Microsoft Teams.
How to create a channel in Microsoft Teams
Create a standard channel
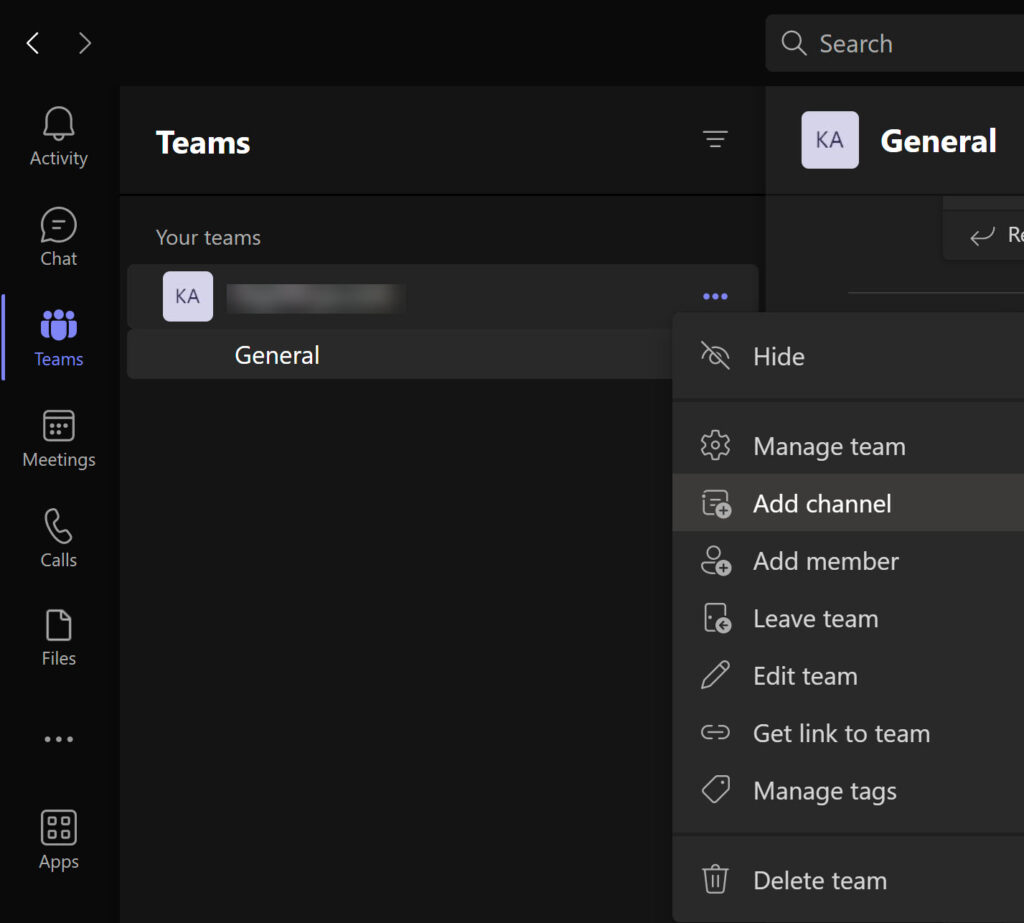
To create a standard channel, start in the team list. Find the team name, and then select More options > Add channel. You can also choose Manage team and then add a channel in the Channels tab.
You can create up to 200 channels over the life of a team. That number includes channels you create and later delete.
Create a private channel.
If you want a focused place to discuss sensitive information such as budgets, resourcing, strategic positioning, and so on, create a private channel for your team, shared next in this guide.
Note: Your admin can change this permission and limit private channel creation to certain roles.
Create a private channel for Teams
Only owners or members of the private channel can access it. You can create up to 30 private channels over the life of a team.
- Go to the team you want to create the private channel for, and then select More options > Add channel.
- Enter a name and description for your channel.
- Under Privacy, select the down arrow on the right, and then choose Private – Specific teammates have access.
- Select Create to add the private channel to the team.
Add members to a private channel
As a private channel owner, you can add or remove members and edit private channel settings. Each person you add must first be a member of the team.
The simplest way to add members of your team to a private channel is to go to the private channel name and select More options > Add members. This opens a menu that lets you search for and add new members, as well as set their roles. When you’re ready, select Close. Members may now post messages in the private channel.
Alternatively, you can go to the private channel name and select More options > Manage channel, then use the Members tab to add or remove members and assign roles. Your private channel can have multiple owners and up to 250 members. The Settings tab lets you choose exactly what members are allowed to do.
Manage private channel creation
As a team owner, you can turn on or turn off the ability for members to create channels. To see and change this option, go to the Settings tab for the team. Edit, delete, hide, or leave a channel. Select More options next to the channel name. Then use the menu to edit, delete, hide, or leave the channel.
Note: Team owners decide which team members can delete channels.
Keep in mind that once you delete a channel, you also lose its entire conversation history. However, the OneNote sections associated with that channel will still show up on your team’s SharePoint site.