
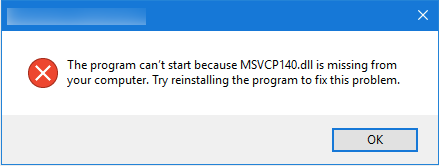
While starting an application, if you received ‘The program can’t start because MSVCP100.dll is missing from your computer. Try reinstalling the program to fix this problem’ message then this fix will help you. You can receive it with any application.
FIX: The program can’t start because MSVCP100.dll is missing from your computer
Try these methods to resolve the issue:
Method 1: Run System File Checker & dism Repair
You can run System File Checker (SFC) scan on the computer which will replace the missing or corrupt files & check if the issue persists.
1. Type ‘cmd’ in start search box. Right click on cmd in the Program list and then select the option Run as administrator.
Note: If you are prompted for an administrator password or for confirmation, type your password, or click Continue.
2. Type the following command, and then press ENTER: sfc /scannow
If SFC fails, run DISM restore health command.
- Click Start button.
- Search for Command Prompt, right-click the top result, and select the Run as administrator option. If you are prompted for an administrator password or for confirmation, type your password, or click Continue.
- Type or simply paste the following command and press Enter:
DISM /Online /Cleanup-Image /RestoreHealth
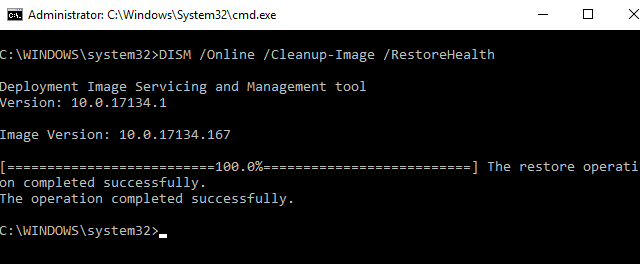
Let the command complete, once done, you should get this issue resolved.
Method 2: Install Microsoft Visual C++ Redistributable Package
If Method 1 doesn’t helps, try to fix the issue via installing the latest Microsoft Visual C++ Redistributable Package and check if it helps.
You may install the latest Microsoft Visual C++ Redistributable Package according to the Windows versions you are using.
To download it, refer this support article: https://support.microsoft.com/en-in/help/2977003/the-latest-supported-visual-c-downloads.
Method 3: Perform Repair Upgrade
Follow these steps to perform repair upgrade:
- Download Windows 10 ISO file.
- Mount that ISO using File Explorer.
- Go to drive where ISO is mounted, click setup.exe file.
- Proceed with on-screen instructions.
Hope this helps!